What is seed stratification?
Ferry-Morse Home Gardening Blog | 2024
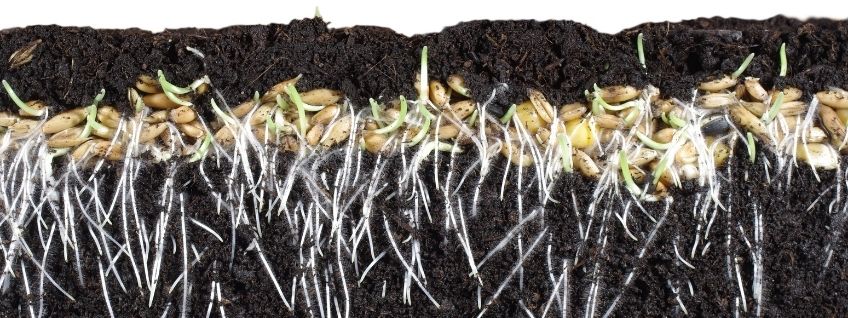
A layer of cereal grass seeds germinated in planting soil
Remember science class when you learned about layers of sedimentary rocks forming strata that tell the history of the Earth's surface, like what's visible on the walls of the Grand Canyon?
Well, today, we're telling the story of seed stratification, a term that originated when nurseries used to layer seeds and sand in wooden boxes outdoors.
And while layers aren't always needed, the term stuck like those price tags you can't peel off flowerpots, which is why we still call it stratification today.
Stratification is the practice of breaking seeds' dormancy to help them germinate by manipulating temperature and moisture to mimic the outdoor conditions under which they would grow naturally, which makes perfect sense, right?
This article will cover the basics of seed stratification and tell you how to stratify seeds at home. Let's dig through the layers and get started.
Why do seeds need stratification?
Under natural conditions, seeds drop from a plant into the soil, where they spend an amount of time breaking their dormancy to germinate and sprout into a new plant eventually.
For example, morning glories drop seeds in the fall and produce seedlings when conditions are right. And the seeds of many trees do the same thing, year-after-year, all on their own.
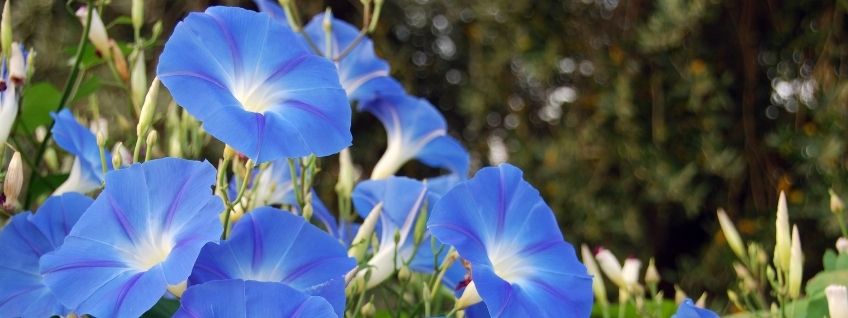
Blue morning glory flowers in the morning sun
Why would a gardener or grower want to imitate what Nature already provides?
Controlling conditions through stratification provides several advantages.
Take commercial farming as an example. Growers need plants to germinate simultaneously to make growing crops predictable, manageable, and profitable.
So, predictably producing mature plants is useful for commerce and helps home gardeners who are trying to work within their region's first and last frost dates.
Growers and gardeners stratify seeds to break their dormant period under controlled conditions because waiting for it to happen naturally could take weeks, months, or years. Or, it might not happen at all.
You also might want to carefully germinate packets of rare seed varieties, those with a hard seed coat, or tiny ones you could lose. If Grandma gives you seeds from her prized perennial garden, you don't want to leave their fate to chance.
The bottom line is that when you stratify seeds, you have more control over the outcome. Let's learn more.
Seed dormancy
Let's focus briefly on seed dormancy. After all, breaking it is the whole point of stratifying seeds.
Dormancy is the nap seeds take before they germinate and start to grow. In this dormant state, all development stops, which is Nature's way of ensuring seeds germinate when conditions can support the plant's growth.
For example, a larkspur seed's hard seed coat prevents it from germinating too early, like in the middle of winter when the seedling can freeze and die.
So, while we're thinking the seed is just being stubborn or not viable, all it's doing is trying to protect itself until conditions are safe for it to germinate and grow. Let's dig a little deeper.
The two types of dormancy
The two types of dormancy are primary and secondary.
Primary dormancy is either endogenous or exogenous. Endogenous seeds have internal processes preventing germination, like an undeveloped embryo. Exogenous seeds have an external barrier preventing germination, such as:
- An impermeable seed coat preventing imbibition
- Germination-inhibiting hormones in the surrounding fruit or seed coat
But guess what? Even after breaking primary dormancy, some seeds still won't sprout!
Secondary dormancy, or double dormancy, happens when conditions are prohibitively unfavorable, such as extreme light levels, water, oxygen, or temperatures.
The seed just goes back to sleep to wait until conditions improve. It makes sense, right?
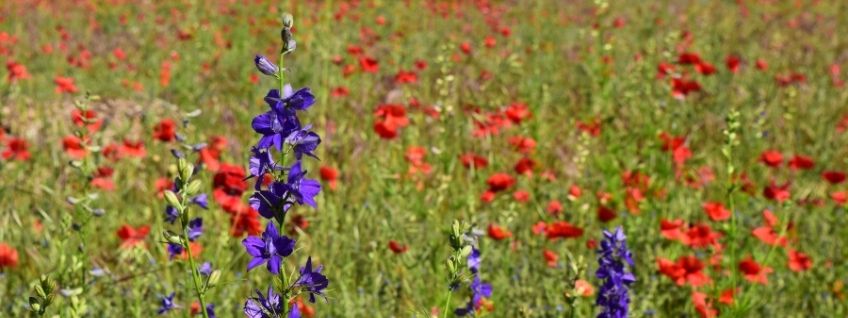
Larkspur growing in a poppy field
How do I stratify a seed?
Encouraging dormant seeds to wake up and get ready to germinate is a reasonably straightforward process. The critical thing to remember is any method you use requires moisture to work. Let's start with the basic steps and then get into specifics in the sections below.
You will need:
- A container that can provide aeration, retain moisture, and keep pests out, such as a sealed plastic bag, box, jar with holes poked in the lid, covered plastic tray, etc.
- Planting medium, which can be paper towels, clean sand, composted sawdust, peat moss, perlite, soilless potting mix, sphagnum moss, or vermiculite
- Fungicide (optional)
Follow these steps:
- Scarify exogenous seeds.
- Soak the seeds in water until they show signs of swelling (imbibition), indicating water uptake.
- Remove the seeds from the water and dust them with powdered fungicide (if you wish).
- In the container, mix the seeds with moist (not wet) planting medium at a ratio of about 3:1, or stratify the media and seeds in even, alternating layers.
- Periodically check the mix for fungus and other problems, and eradicate any issues.
- Place the container appropriately, depending on if the seed variety requires cool or warm stratification.
- Maintain the temperature required for the species to prevent early sprouting and a sustained dormant state.
- After the recommended period passes (check the planting instructions), remove the seeds and plant them in seed trays or your outdoor garden.
Seeds might germinate in the planting medium. When this happens, plant them in seed trays or gardens as soon as possible.
And that's it! But please keep reading because we need to explain these concepts a little more.
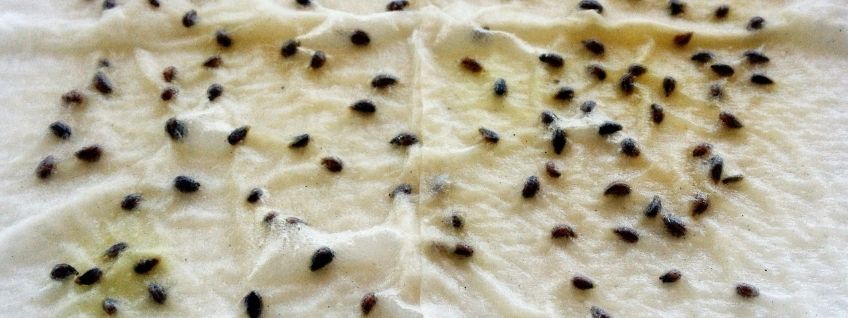
Seeds germinating between layers of wet paper towels
Scarification
Some seeds can't get their growing groove on without a physical groove in their seed coat, which is why sometimes before you stratify, you have to scarify.
Scarification helps seeds germinate by altering (scarring) the seed coat. It's generally done to exogenous seeds because they have a hard exterior that prevents water and gases from entering.
Abrading, softening, or gently scoring the seed coat (testa) by
On some seed packets, you'll see instructions to nick seeds, which is another way of saying that scarification will increase the germination success of these seeds. To learn more, check out the detailed steps provided by eHow.
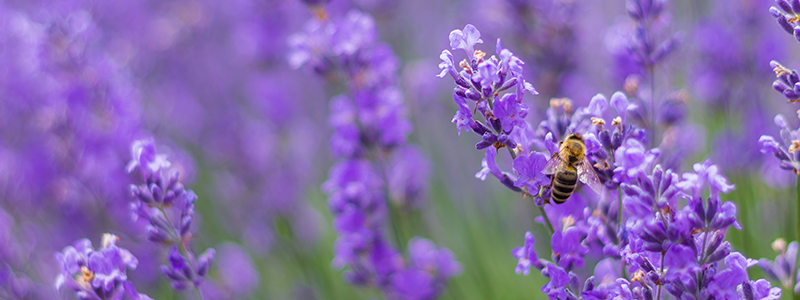
Lavender flowers with a bee collecting nectar and pollen
Indoor vs. outdoor stratification
You may stratify seeds indoors or outdoors.
Indoor
Indoor stratification happens in a refrigerator, freezer, or heated location.
Refrigerated stratification is more common and mimics cold-moist conditions in nature for seeds that require cold temperatures to germinate.
Just be sure to use a refrigerator or freezer-safe container!
Outdoor
The outdoor stratification process takes advantage of natural conditions while protecting seeds in an outdoor container or structure to break dormancy.
General guidelines are to stratify:
- Endogenous seeds in the fall for planting in the spring, giving them a reasonable period of cold-moist treatment
- Exogenous seeds in summer for a warm-moist period followed by a cold-moist period, which helps water and oxygen permeate their hard seed coats
Cold vs. warm stratification
Depending on the species, seeds might need cold, warm, or both types of stratification.
Cold
Cold stratification is the most common form of seed stratification.
Certain seeds require cold plus moisture to germinate because cold air allows gases to enter the seed. Also called moist-prechilling,
In short, cold stratification in a refrigerator or freezer imitates the cold of fall and winter.
Warm
Tropical seeds and others that germinate in warm climates can break dormancy via a warm-moist stratification process.
Temperatures for warm stratification range from 60–95° F. For example, palms are often stratified at temperatures between 85–95° F because they grow where the weather is hot!
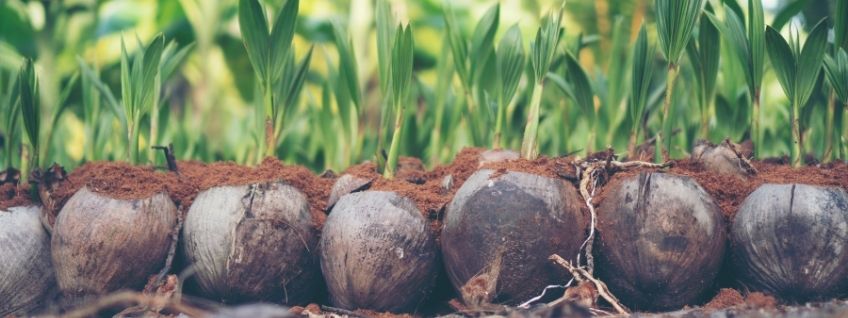
A group of germinated coconut palm tree seeds with young sprouts growing upwards
Both
Endogeneous seeds have better germination rates when subjected to warm-moist stratification followed by moist-prechilling.
Which seeds usually require stratification?
Many wildflower seeds benefit greatly from cold stratification in a refrigerator.
Seeds that germinate better after a stratification or scarification-stratification treatment include:
- Coneflower
- Fruit and nut trees
- Large-seeded and woody perennials
- Larkspur
- Lavender
- Lupine
Cold stratification of strawberry seeds can happen in the freezer, as temperatures below 20° F help them break dormancy. Other seeds include conifers, fringetree, hazelnut, hollies, palm, and yew.
Scarification and soaking overnight improves germination of nasturtiums, morning glories, and moonflowers.

Strawberry plant with fruit in various stages of ripeness
It's not a difficult seed to crack!
Some seeds won't break their dormancy in a peat pellet without pre-treatment to overcome internal and external processes, like an undeveloped embryo, hard seed coat, or germination-inhibiting fruit flesh.
The benefit of seed stratification is that we can have better control over germination outcomes.
Try it yourself with a small batch of seeds and sand, paper towels, or soilless mix in a bag, and let us know what happens. And as always, we're here to support you in cracking the mysteries of gardening!
CLICK HERE TO EXPLORE THE REST OF THE FERRY-MORSE GARDENING BLOG -->

I have a packet with last years chive seeds, which I sealed and kept in a cool cupboard. A couple of months ago I tried to start them indoors in a good quality seed starting mix. My attempt totally failed, not a solitary seed germinated. I even tried to test viability using the moist napkin, plastic bag method, but nothing! Are these seeds just dead? Obviously, I’m not concerned about cost but I just thought seeds were good for more than 1 year. Am I missing something? These were Ferry Morse seeds.
Very informative article